🏡
Facility Management
Guide for farms, ranches, rescues, and breeders: facility profiles, client management, team roles, QR scanning, printable flyers, bulk operations, and herd analytics.
🏗️Setting Up Your FacilityFacility Only
- Select "Farm/Ranch" during onboarding.
- Choose your facility type(s): Breeding Farm, Cattle Ranch, Hobby Farm, Rescue/Sanctuary, Training Facility, etc.
- Enter your facility name, phone, email, and website.
- Choose your subscription tier (Facility Starter, Pro, or Enterprise).
💡
Your facility profile makes you visible as a client when connecting with veterinary practices on AniLedger.
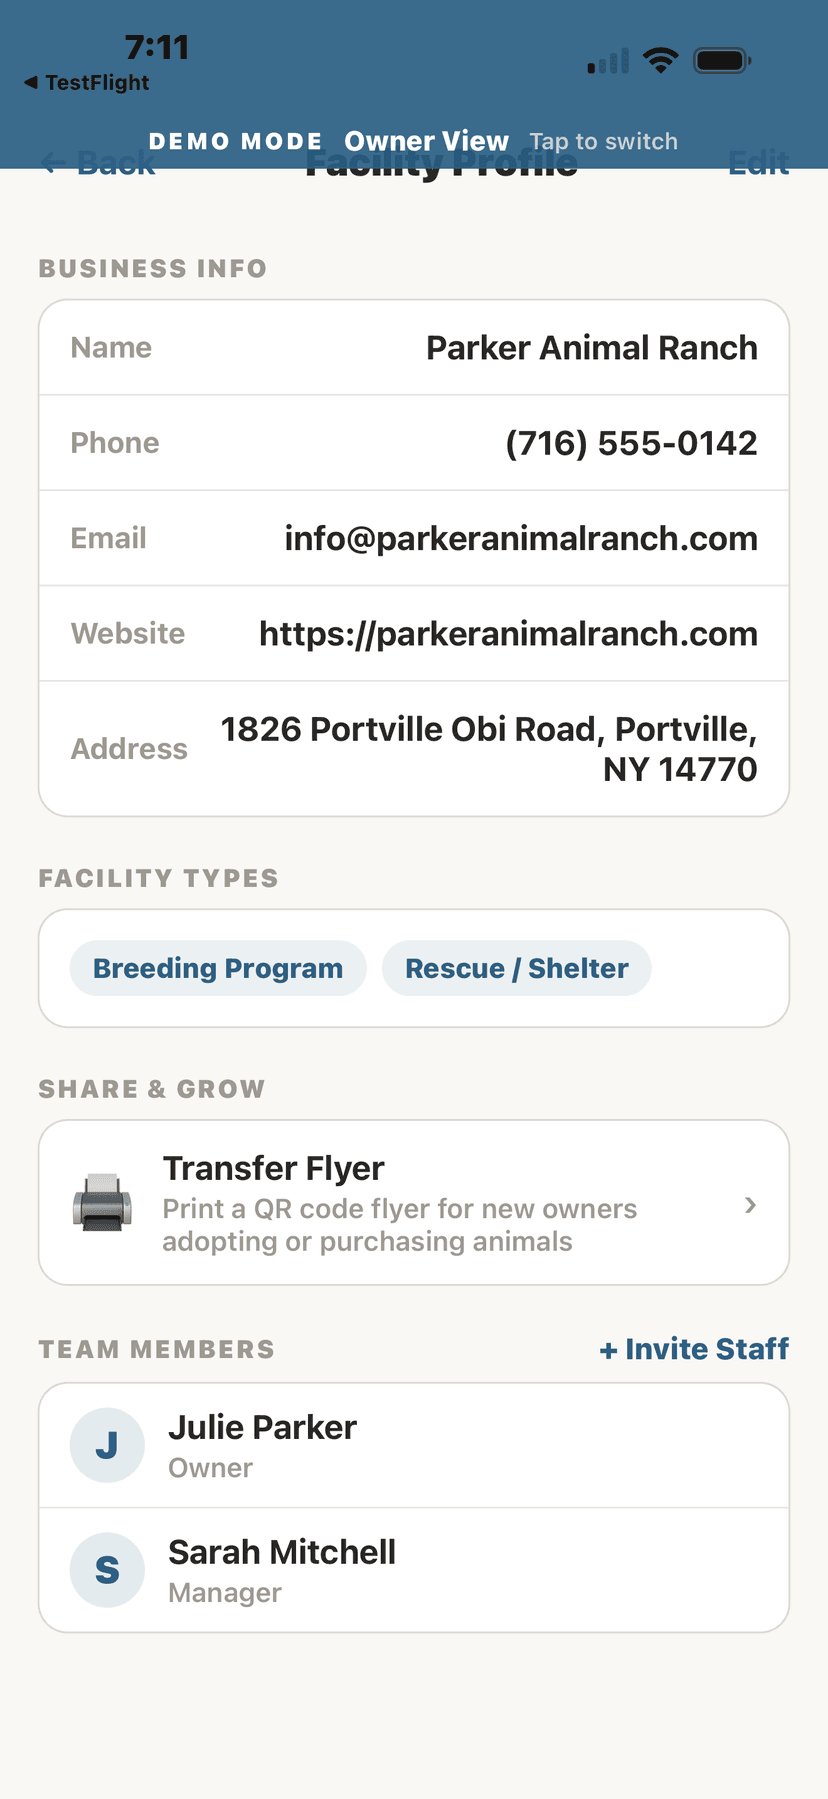
Facility profile with business info
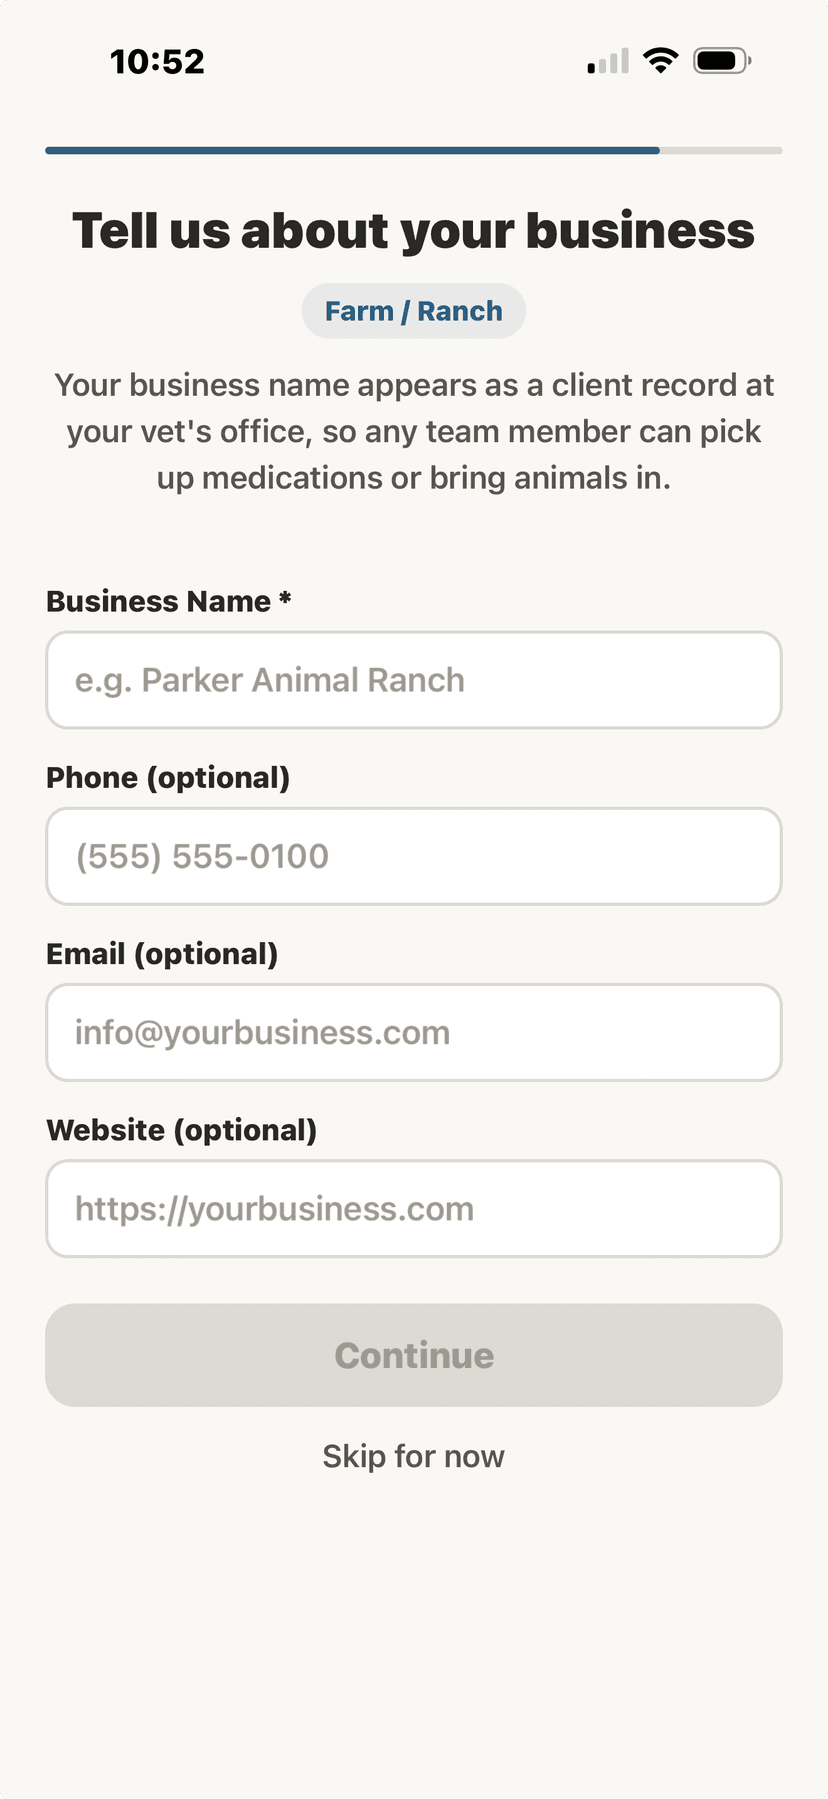
Business info setup during onboarding
⚡Bulk OperationsFacility Only
- Tap "Bulk Operations" from the home screen or tools menu.
- Select the operation type (Vaccinate, Medicate, Weight, etc.).
- Choose which animals or groups to include.
- Enter the shared details (vaccine name, date, dose, etc.).
- Review and confirm — records are created for all selected animals.
Manage multiple animals at once — essential for facilities with herds or flocks.
- Bulk Vaccination: Select a group of animals and record the same vaccine for all at once
- Bulk Medication: Apply a deworming or treatment to an entire group
- Bulk Weight Entry: Log weights for multiple animals in one session
- Bulk Status Update: Update housing, location, or group assignment for many animals
👥Team Roles & AccessFacility Only
- Go to Settings → Facility Profile.
- Scroll to "Team Members" and tap "+ Invite Staff."
- Select a role for the new team member.Five roles are available: Manager (full access to animals, staff, and settings), In-House Veterinarian (full vet portal access — SOAP notes, prescriptions, clinical tools), Vet Tech (assist veterinarian, view records, add notes), Staff (add/update animals, log daily entries), and Volunteer (view animals, log feeding and care entries).
- Tap "Generate Invite QR Code."A QR code is generated that expires in 7 days. The new team member scans this code with their phone to join your facility.
- The team member downloads AniLedger, creates an account, and scans the QR code to join your facility.
Team member limits depend on your plan:
- Facility Starter: Up to 5 team members
- Facility Pro: Unlimited team members
- Enterprise: Unlimited team members + multi-location
⚠️
The In-House Veterinarian role is reserved for vets employed solely by your facility. Outside vets with their own practices must subscribe to a separate Veterinary plan and connect to your facility through the "Invite Vet" flow on any animal’s profile.
📋Managing Clients (Mobile App)Facility Only
- Go to Settings → Facility Profile → Client Directory.This opens the full list of clients at your facility with their name, contact info, and animal count.
- Tap "+ Add" in the top-right corner.
- Enter the client’s name (required), plus optional phone, email, address, and notes.Notes are useful for things like "Boards 2 dogs monthly" or "Cattle rancher, annual vaccine visits."
- Tap "Add Client" to save.
- Tap any client to view their detail page.From here you can edit their info, add animals, scan QR codes, unlink animals, or remove the client entirely.
The Client Directory lets you manage clients and their animals at your facility. Clients do NOT need to have an AniLedger account — you can add "offline" clients by name and phone number, and create animals on their behalf.
💡
Use the search bar at the top of the Client Directory to quickly find clients by name, phone number, or email.
🐾Adding Animals for Clients (Mobile App)Facility Only
- Open a client’s detail page from the Client Directory.
- Tap "+ Add Animal" next to the Animals header.
- Select the species from the chip grid (Dog, Cat, Horse, Cattle, Goat, Sheep, Pig, Poultry, Rabbit, Alpaca, Donkey, Mule, or Other).
- Enter the animal’s name (required).
- Fill in optional details: breed, sex, date of birth, color/markings, microchip number, and notes.
- Tap "Add Animal" to save.The animal is automatically linked to the client’s record and appears on their detail page. You can view the animal’s full profile by tapping on it.
You can create animals on behalf of clients who don’t use the app. The animal is managed at your facility and linked to the client’s record.
💡
You can unlink an animal from a client without deleting the animal record itself. Tap the red "Unlink" text next to any animal on the client detail page.
📷QR Scan: Link a Client’s Existing Animal (Mobile App)Facility Only
- Ask the client to open their animal’s profile in AniLedger and tap "Share with Facility."This generates a QR code on the client’s phone containing the animal’s ID.
- From the Client Directory, tap the camera icon ("📷 Scan Client’s Animal QR") at the top of the list.Or open a specific client’s detail page and tap "📷 Scan QR" next to the Animals header.
- Point your camera at the client’s QR code.
- The animal is linked to the client’s record at your facility.If the client doesn’t have a client record at your facility yet, one is automatically created from their AniLedger profile. The animal remains owned by the client — your facility gets a read-only link.
If a client already uses AniLedger and has their animals in the app, you can link their animals to your facility instantly via QR code — no manual data entry needed.
💡
The QR scan uses your phone’s camera — you’ll be asked to grant camera permission the first time. No additional app is needed.
🖥️Managing Clients (Desktop App)Facility Only
- Open the AniLedger Desktop app and click "Clients" in the left sidebar.
- Use the tab toggle to switch between "Facility Clients" and "Vet Clients."
- Click "+ Add Client" to open the inline form.Enter the client’s name (required), phone, email, address, and notes. Click "Add Client" to save.
- Use the search bar to find clients by name, phone, or email.
- Hover over any client row and click the trash icon to remove them.A confirmation dialog will appear before the client is deleted.
The desktop app includes the same Client Directory with a tabbed interface for Facility Clients and Vet Clients.
💡
The desktop and mobile apps sync in real time via Supabase. A client added on desktop appears on mobile immediately, and vice versa.
🖨️Printing FlyersFacility Only
- Go to Settings → Facility Profile.
- Under "Share & Grow," tap "Transfer Flyer" to generate a QR code flyer.This flyer is designed for new owners adopting or purchasing animals. When they scan the QR code, they download AniLedger and receive the animal’s complete health records.
- Tap "Print Flyer" to send directly to a connected printer, or "Save as PDF & Share" to email or message the file.
- For a general facility flyer, tap "Print Facility Flyer."This generates a professional flyer with your facility name, types, contact information, and a list of services powered by AniLedger. Choose "Print" or "Save PDF & Share."
AniLedger includes two printable flyers to promote your facility and help transfer animal records.
💡
Include the Transfer Flyer in every adoption packet, purchase agreement, or discharge folder. Stack extras at your front desk and in waiting areas.
🚫Removing Staff & TerminationsFacility Only
- Go to Settings → Facility Profile → scroll to Team Members.
- Tap "Remove" next to the team member you want to remove.The Remove button only appears for members you have permission to remove based on your role.
- Confirm the removal in the dialog.Removal takes effect immediately. The person loses access to all facility data, client records, and facility features. Their personal animals stay with them.
When an employee leaves or is terminated, management can remove their access immediately — no consent from the employee is required. Removal permissions follow a strict hierarchy:
- Facility Owner: Can remove anyone — managers, staff, volunteers, vets, vet techs
- Managers: Can remove staff, volunteers, and vet techs — but NOT other managers (only the owner can remove a manager)
- Staff, Volunteers, Vet Techs: Cannot remove anyone
💡
After removing someone, they will need their own AniLedger subscription to continue using the app personally. All facility client data remains with the facility — nothing leaves with the departing employee.
⚠️
Only the facility owner can remove managers. This prevents managers from removing each other during disputes. If you need to remove a manager, the facility owner must do it.
⬆️Changing Staff Roles (Promotions & Demotions)Facility Only
- Go to Settings → Facility Profile → scroll to Team Members.
- Tap "Role" next to the team member whose role you want to change.The Role button only appears if you are the facility owner.
- Select the new role from the list.Available roles: Manager, In-House Veterinarian, Vet Tech, Staff, and Volunteer. The change takes effect immediately.
The facility owner can change any team member’s role at any time — for promotions, demotions, or lateral moves. Only the owner has this ability.
- Promote a kennel staff member to Manager when they take on more responsibility
- Move an In-House Vet to Vet Tech if their role changes
- Demote a manager to staff if needed — only the owner can do this
- Reassign a volunteer to staff when they become a paid employee
💡
Role changes are instant. The team member’s access permissions update immediately based on their new role. No app restart needed.
🚪Leaving a Facility (Voluntary Departure)Facility Only
- Go to Settings → Facility Profile.
- Scroll to the bottom and tap "Leave Facility."
- Read the warning and confirm.You’ll see exactly what happens: your personal animals stay with you, all client data stays with the facility, and you’ll need your own subscription going forward.
Any team member (except the owner) can voluntarily leave a facility at any time.
💡
If you are a veterinarian starting your own practice, set up your Veterinary subscription BEFORE leaving the facility. You can then copy your client connections to your new practice so they can follow you.
👨⚕️Veterinarian Departure — Taking Clients to a New PracticeFacility Only
- Set up your own Veterinary subscription and create your new practice in AniLedger.
- Before leaving the old facility, use the client copy tool to bring selected client connections to your new practice.Client records are COPIED, not moved. The original practice retains everything. Clients can be connected to both practices simultaneously.
- Leave the old facility via Settings → Facility Profile → Leave Facility.
- Clients choose where to go.Some clients may follow you to your new practice, some may stay with the original, and some may use both. All options are supported — client connections at the original practice remain active unless the client or original practice disconnects them.
When a veterinarian leaves a practice to start their own, they can copy their client connections to the new practice. The original practice keeps all records — nothing is removed. This mirrors how vet-client relationships work in real life: clients often follow their doctor.
⚠️
The original practice always keeps its records. Nothing is deleted when a vet departs. This protects the business and ensures continuity of care for all clients.
📊Herd AnalyticsFacility Only
Available on Facility Pro and above. Get insights across your entire herd or flock:
- Mortality and morbidity rates
- Vaccination coverage percentages
- Average weight gain over time
- Breeding success rates
- Treatment cost per head
- Disease surveillance alerts
🗺️Multi-Location Support (Enterprise)Facility Only
Enterprise tier supports up to 5 separate properties or locations. Each location has its own animal roster, team assignments, and analytics — with a unified dashboard view across all locations.
🩺Connecting to Your Vet
Facilities connect to veterinary practices the same way individual owners do — your facility profile appears as the "client" in the vet's portal. All animals under your facility are accessible to the connected vet for record review, prescribing, and messaging.